Propagating Ocotillo (Fouquieria splendens)

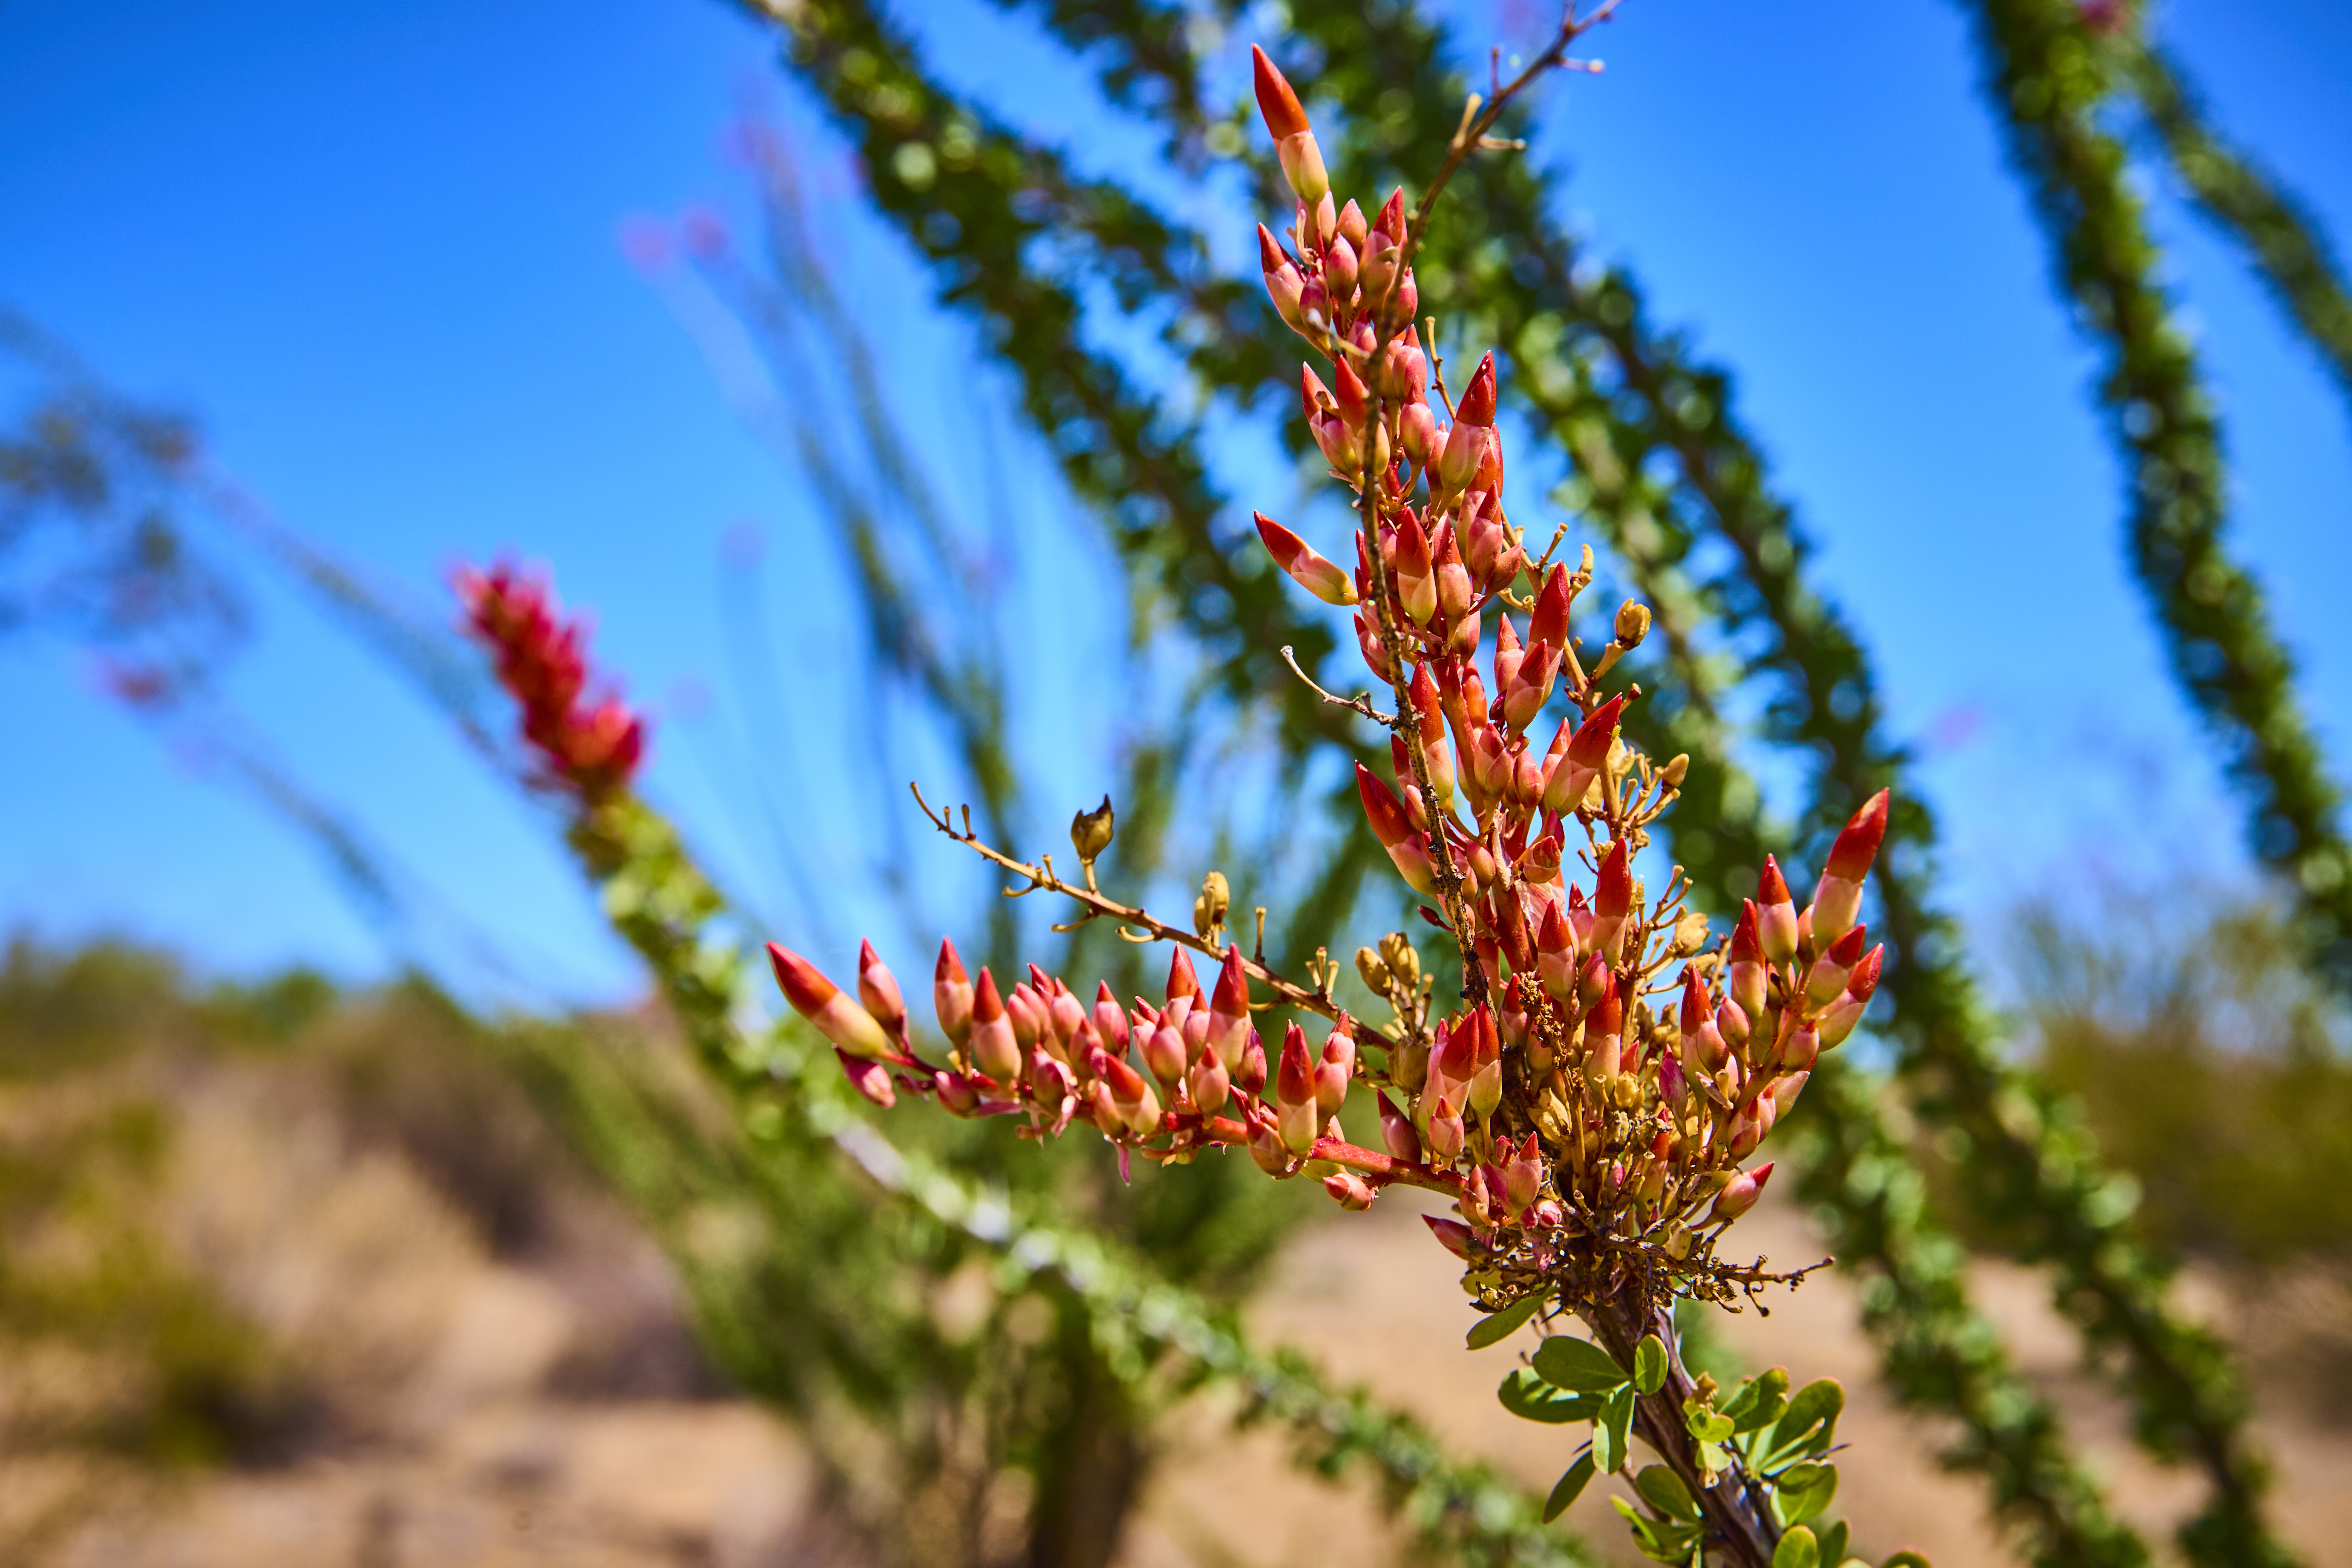
Ocotillo (Fouquieria splendens) is neither a true cactus nor a succulent, but a desert shrub with a distinctive, thorny silhouette and brilliant red flowers. It can drop its leaves during dry spells and quickly leaf out again after rain. Ocotillo is essential to hummingbirds, adored by bees, and used by many desert animals.
The Ocotillo family is small, with just 11 species, and Fouquieria splendens is the most widely recognized. They are native to North and Central America, with a distant sister family in Madagascar. Interestingly, ocotillo is more closely related to blueberries than to cactus. The flowers are also edible and can be used to make a tisane.
In this article, we’ll cover how to propagate ocotillo successfully. Although not a cactus, it shares many of the same propagation needs and fits well here.
Ocotillo is a protected species. Take cuttings only from plants you have permission to propagate. Moving an entire ocotillo may require a permit.
Choosing an Ocotillo to Propagate
Spring is the best season to propagate ocotillo. Once the risk of frost has passed, look for a healthy plant with long, vigorous canes that bloomed and leafed frequently the previous year.
The ideal length of a cane is around 3-5ft long, and a cane can be cut as a section of a longer cane; the main plant will regrow. Cuttings should be taken from younger, more supple growth, which is typically a little thicker than a pencil, and can look more purple in color. If the cane is quite bendy or supple, it should root well.
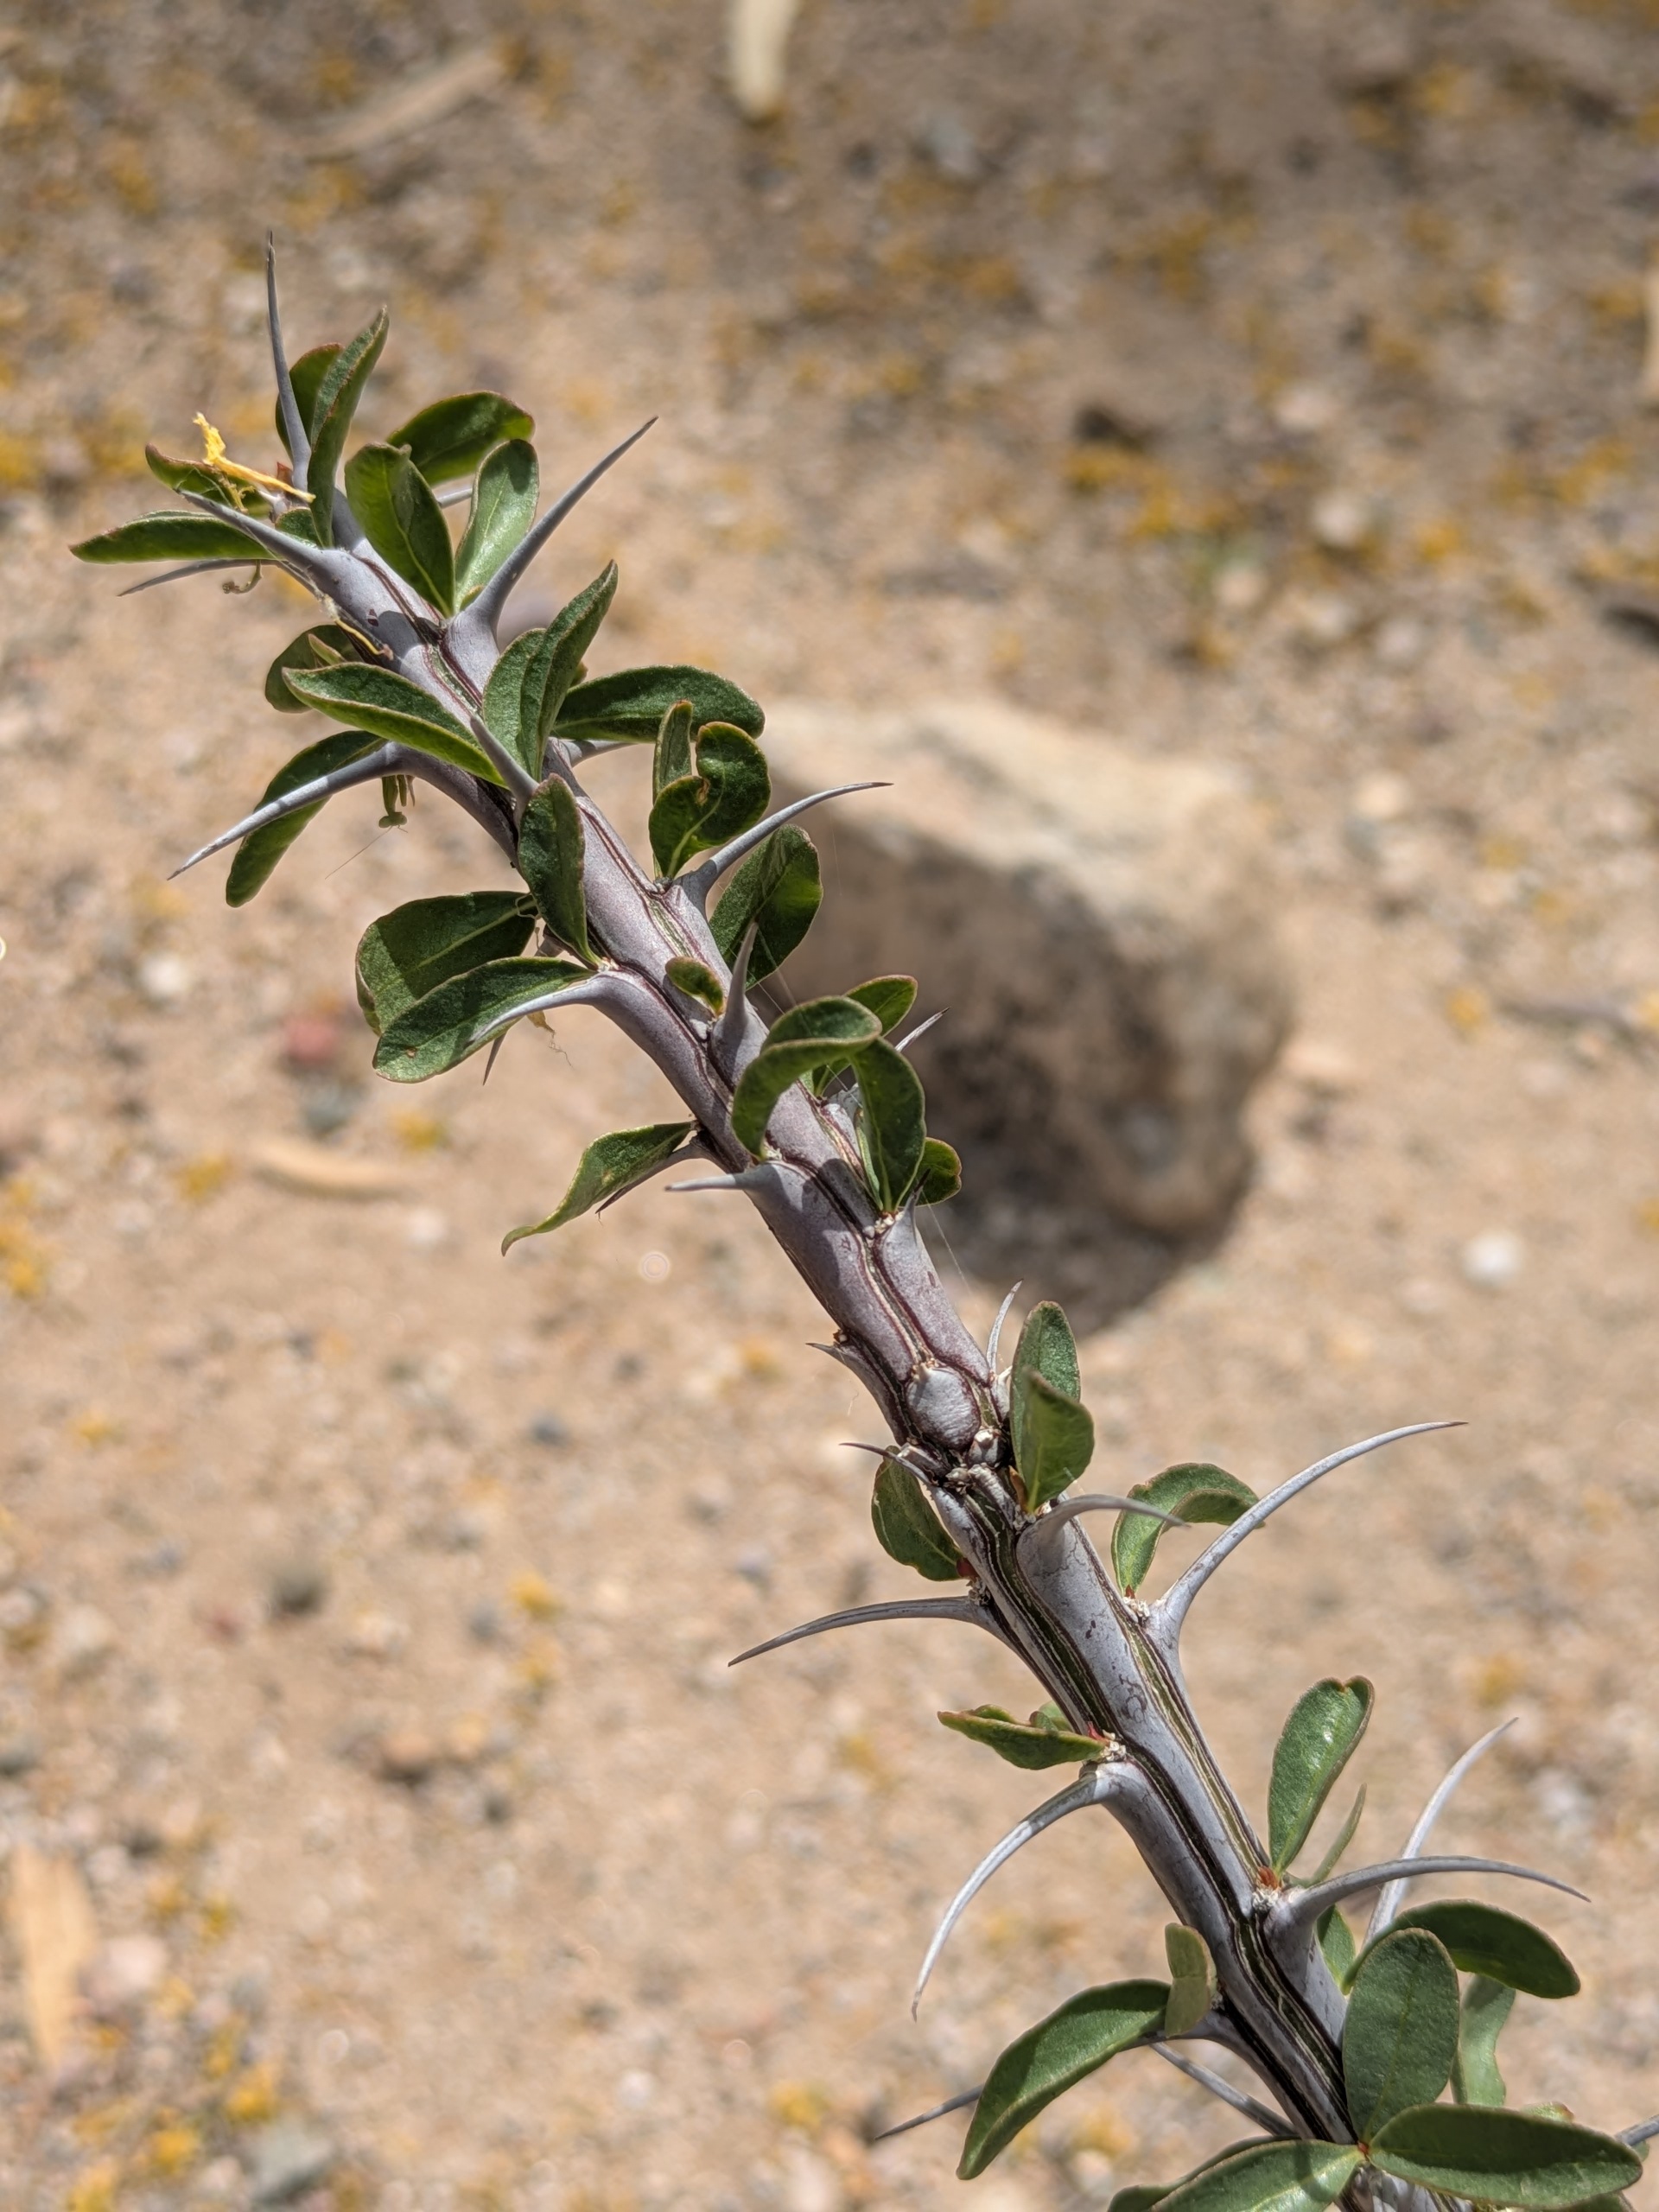
Thinner, younger canes are easier to cut, will heal quicker, and are less woody, so have more adaptive cell tissue.
Taking a Cutting
Removing a section of ocotillo is very simple.
You will need:
- Thick gloves
- Sterilized cutting tools - a garden knife and garden loppers
- A bucket to carry the canes in
After you’ve found a good cane to cut, it’s important to evaluate how thick it is. A clean cut is essential to prevent damage to the parent plant and help the cutting to remain healthy.
Canes that are even a little too thick or woody, but still suitable for propagation, can be crushed by loppers, so a garden knife may be more suitable for some plants.
Plants should be cut at a shallow angle to prevent water pooling on the main plant and increase the rooting surface area of the cutting. Take care not to go too steeply, as this creates a wound that is too big and is more likely to rot.
If your loppers crush the stem, don’t worry! Using your garden knife, you can create a new, clean cut around half an inch lower on the main stem, and around ¼-½ above on the cutting.
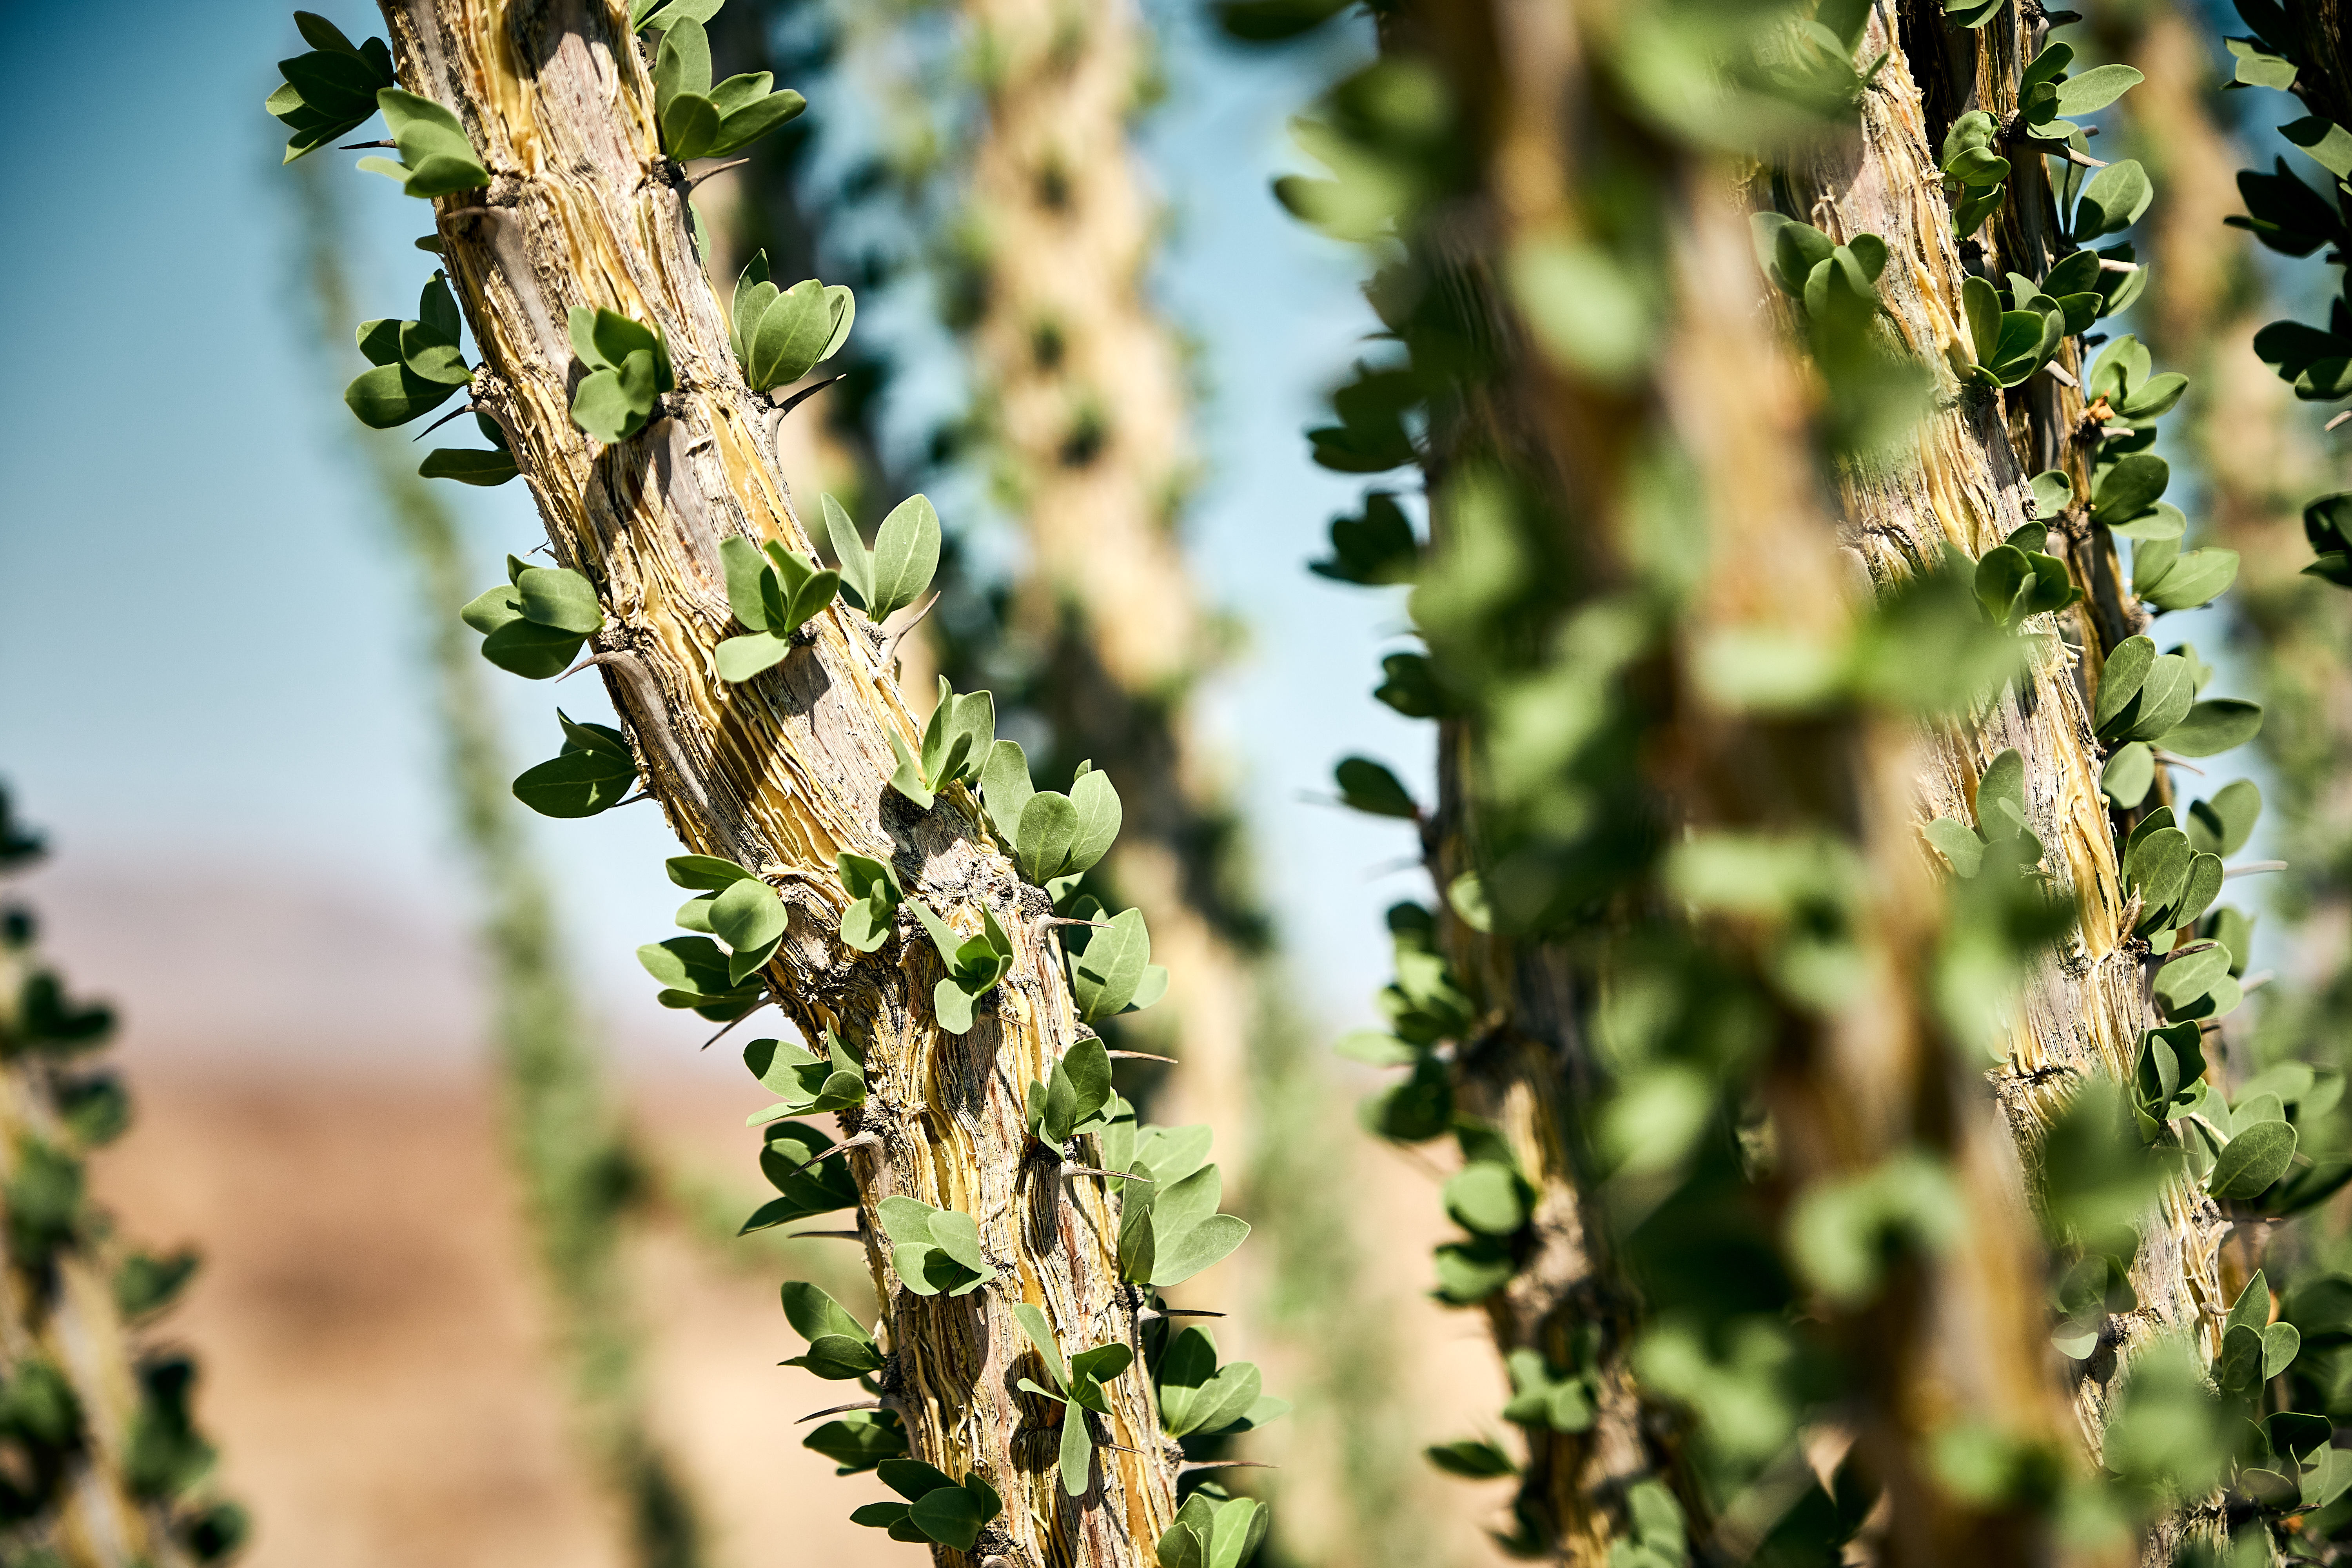
Before cutting, mark which side of the cane faces south, or south-west. Tying a piece of string around one of the large thorns is an easy way. Desert plants form thicker, more sun-adapted tissue on these sides, and this will help the plant root more successfully by minimizing stress.
Once cut, place the cutting in the bucket, which makes them much easier to carry, as the thorns can be very sharp.
Preparing the Cutting
Ocotillo stems need to dry out and form a callus before being planted, just as many other desert plants do.
Store the canes horizontally in a semi-shaded, well-ventilated location. Ocotillo calluses very quickly, and you may find it happens in as little as 2-3 days.
Canes can then be prepared for planting by dusting the bottoms with rooting hormones or sulfur powder. As well as encouraging the plant to root, this also helps to keep the cane base dry as it roots out.
Preparing the Ground
Ocotillos prefer sandy, slightly loamy soil. As the canes will be very unstable when planted, you may find it beneficial to amend the planting area with small stones or a small amount of gravel to provide some stability and weight at the base.
Dig a hole that is approximately 4-6 inches deep, and complete any necessary soil amendments. The hole should be approximately 4-6 inches wide as well to help with water infiltration.
Place the cane in the hole, and gently backfill, compressing the soil with your foot to create slightly compacted layers. Amend the top surface with a few larger rocks close to the cane to stabilize the cane against wind or animal disturbance. Once the cane is stable, avoid watering the soil directly for the first few weeks.
Remember to orient the cane in the correct direction. The cane will likely survive even if you don’t do this, but for more extreme weather years, this will really benefit the plant.
Caring For Your Ocotillo
Ocotillo does not like wet roots. Ocotillo also takes up much of its water through its stems, and is very receptive to humidity, having the ability to open and contract its stems to expose more surface area for photosynthesis and water intake.
Most of the watering for your ocotillo canes should be done through a misting of the stems. A deep watering once a month before the monsoon rains come will stimulate root growth, but misting is most effective, as the cane will not have many roots, if any at all, for the first few months.
Ocotillo can take anywhere from 3-24 months to root. They are very resilient plants, and a little fussy about environmental conditions. You can check if your ocotillo canes are still alive through the following methods.
- Check for visible green on the stems. You may have to look closely, but millimeter ribbons of green are often all that can be seen on dormant plants.
- Scratch the stem and look for green beneath the stem. In very dormant cases, plants will close up.
- Check how flexible the stem feels. Dead stems will be very brittle and will snap. Canes that are still alive will bend, even if only a little, and won’t snap easily.
Propagating From Seeds
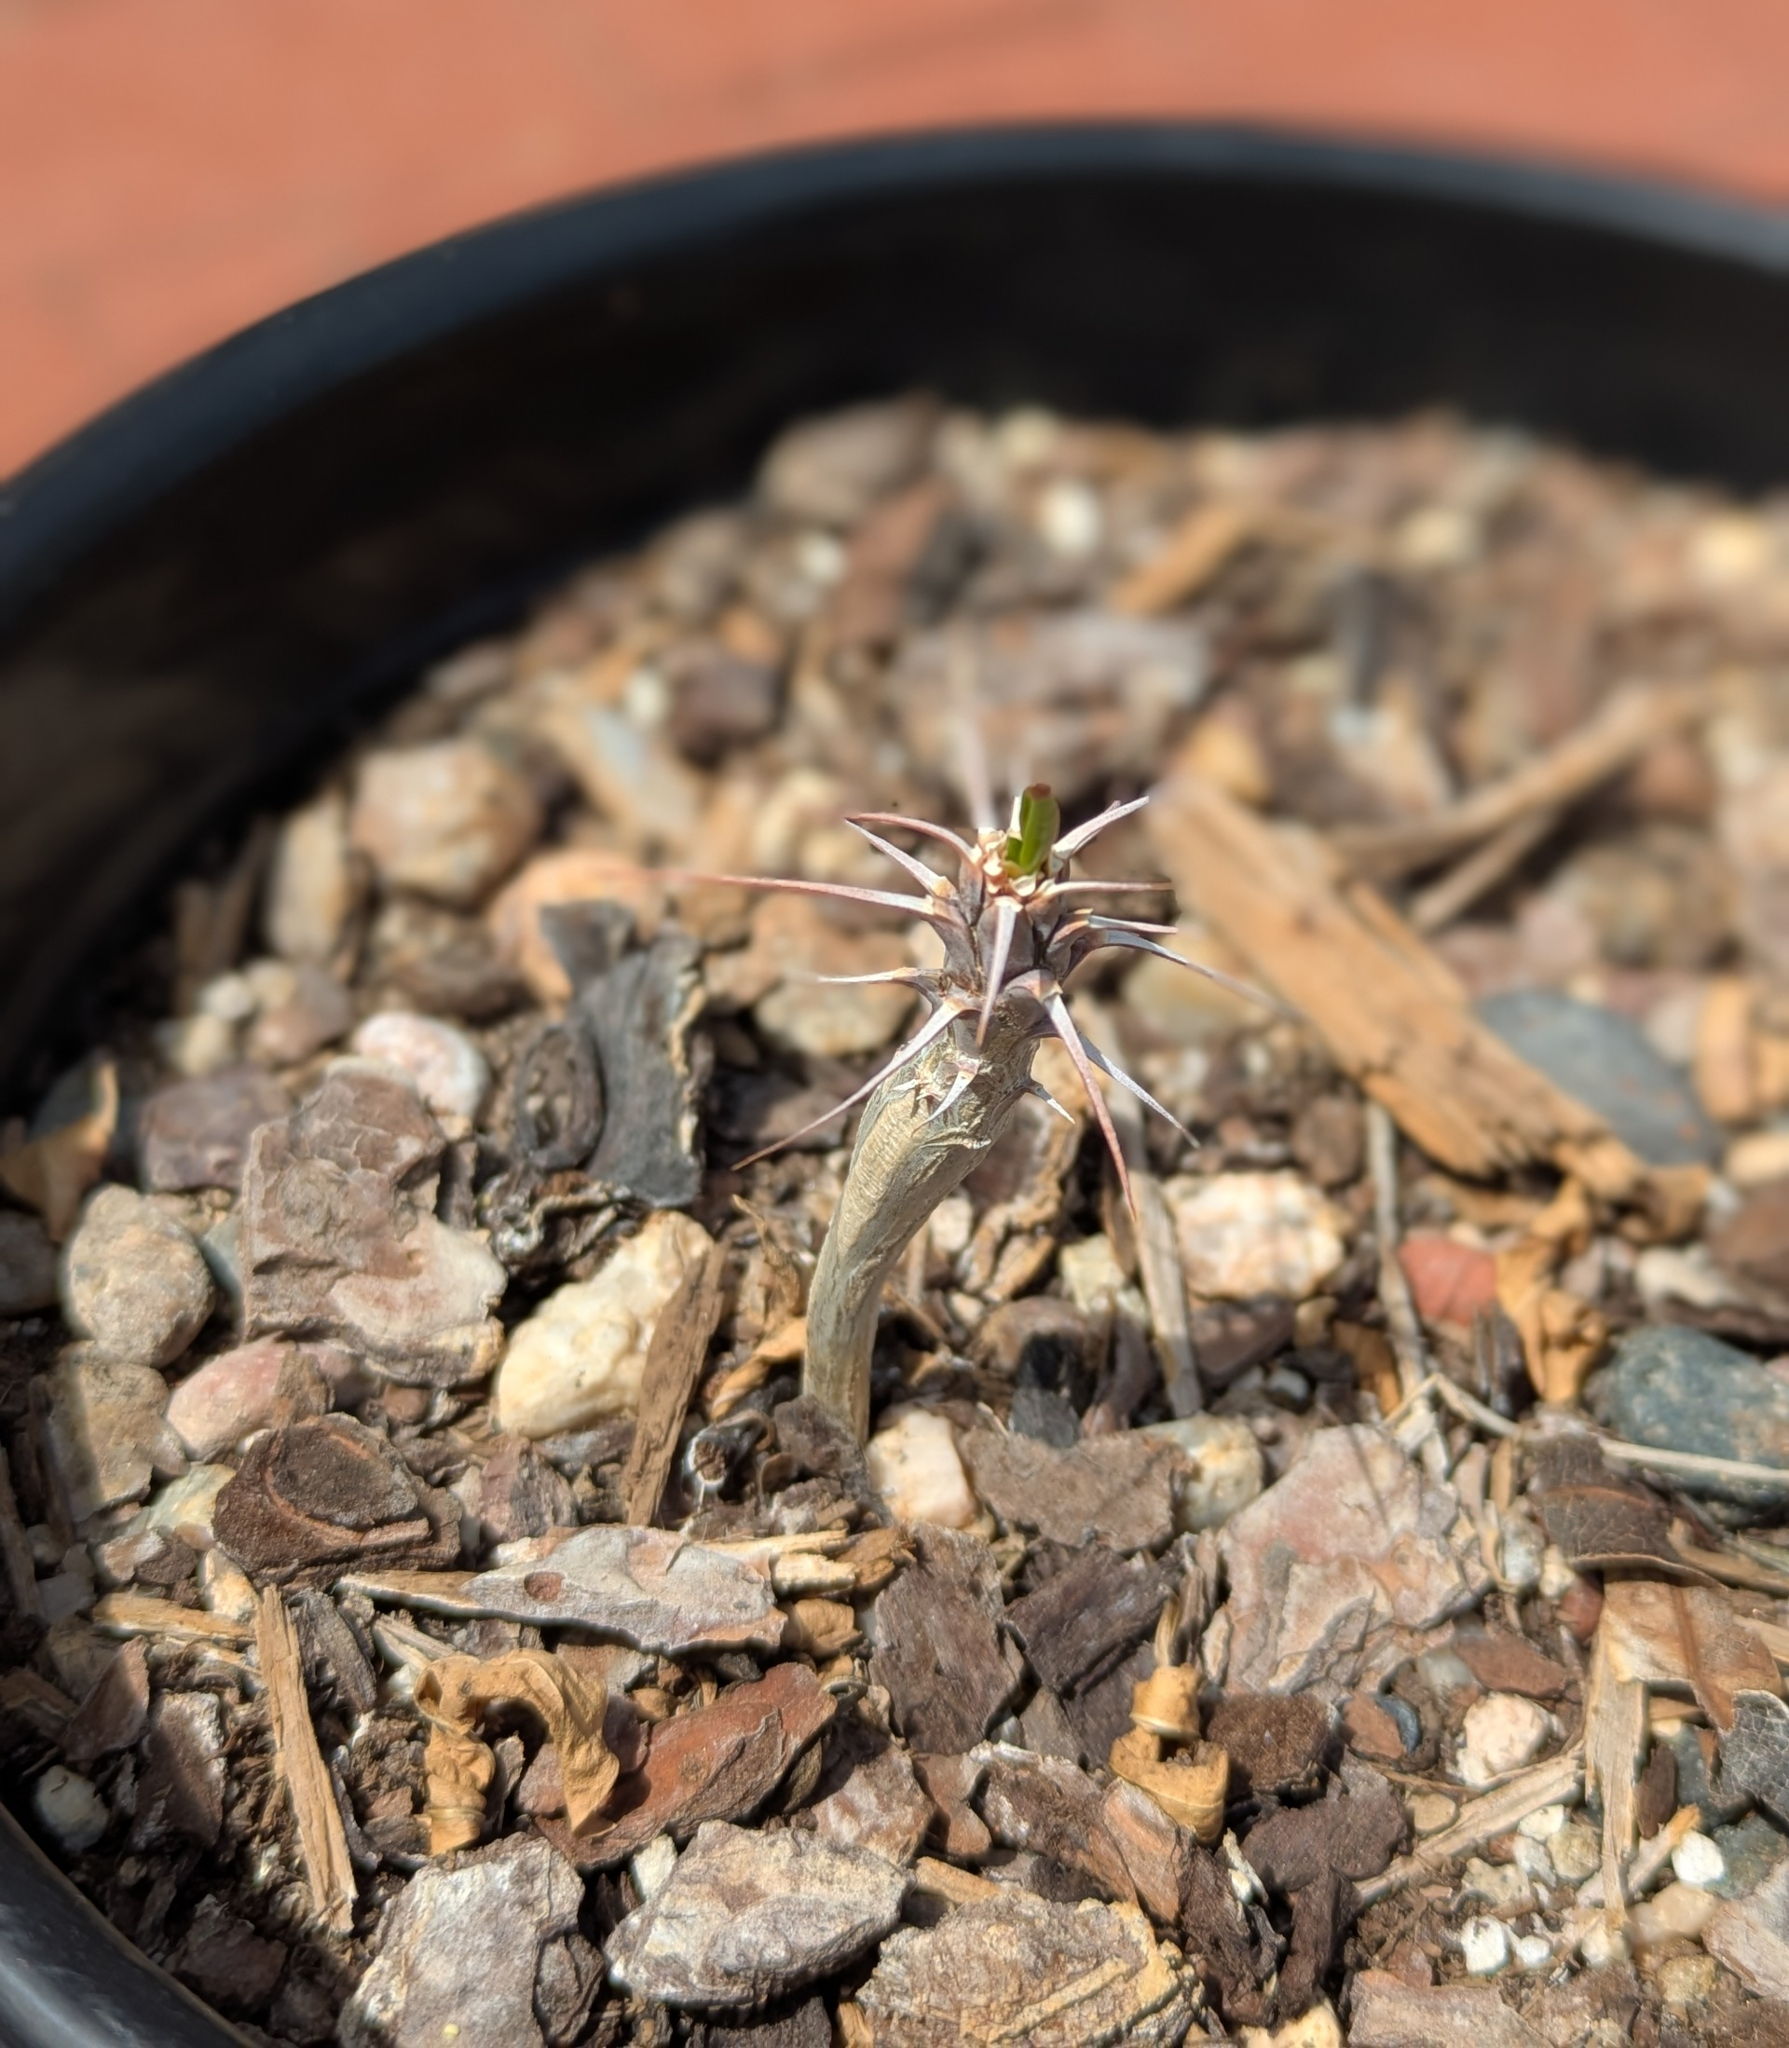
Seeds can be collected from your own plants or purchased from reputable sellers online. These seeds are easy to germinate, and can provide transplantable ocotillo within 2 years.
- Prepare a well-draining, sandy potting mix in a small to medium container.
- Plant the seeds at a depth of around 1 inch, and dampen the soil all the way to the bottom.
- Keep the soil consistently moist until the seeds germinate and sprout above the surface.
- Provide intense sunlight, as a lack of, or limited, sunlight will cause seedlings to become heavy with leaves and break. Later afternoon shade will help young plants. I keep my seedlings on a northeast-facing patio.
- Ocotillo will eventually grow a deep taproot, so a container that is at least 6 inches deep is good.
- Water seedlings weekly to encourage healthy growth.
Once the seedling is around 2-4 inches tall and is leafing out regularly, you can transplant it to the final location. Water the plant weekly for the first couple of months, and then reduce the watering schedule, eventually leaving irrigation to natural rainfall.
Watering once a month in the heat of the summer is helpful for the first two years.
Wrapping Up
Ocotillo is a delightful plant. They are wonderfully unique, have beautiful flowers, an interesting growth pattern, and a structure that is elegant and dramatic. Ocotillo will flower and leaf regularly once they are well established, which could take multiple years. However, they are an incredibly low-maintenance, keystone plant that will hold a place of pride in your garden and benefit all kinds of wildlife.
Put away the pen and paper
Plan your veggie garden in minutes with Planter's easy drag and drop planner.
Try Planter for Free